TruDirect User manual
- How to use the TruDirect
- Before the installation of TruDirect
- Installing the TruDirect
- Starting the TruDirect
- Using the Express mode of TruDirect
- Using the manual mode of TruDirect
- Easy checks for TruDirect
How to use the TruDirect
- Connect the Video/Audio devices to your computer before you start TruDirect.
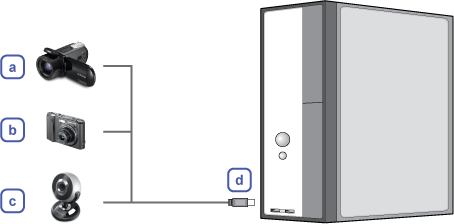
- Camcorder
- Digital Camera
- Webcam
- IEEE 1394/USB Composite
- Click the TruDirect Program Shortcut on your Desktop of Windows.

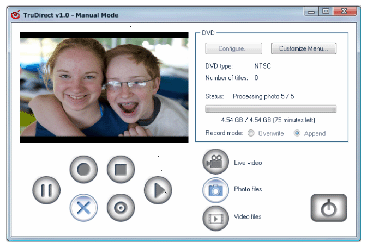
- Make the DVD title from Live Video, Photo Files, Video Files.
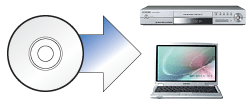
- Play DVDs made with TruDirect on your DVD player or PC.
Before the installation of TruDirect
PC software required
- Windows 2000(Service pack 4), Windows XP(Home, Professional & Professional MCE), Windows Vista(Basic, Business, Premium, Enterprise & Ultimate), Windows 7(Home Premium, Professional, Ultimate)
- Microsoft DirectX 9.0 or above
PC hardware required
- CPU : Pentium4 2.0GHz or above (Windows 2000/XP), Core2Duo 1.8GHz or above (Windows Vista/7)
- Memory : 512 MB or more (Windows 2000/XP), 1 GB or more (Windows Vista/7)
- HDD : 60 MB or more for program installation
- Video Card : Video card compatible with DirectX 9.0(Windows Vista/7 128MB or more)
- ODD : SAMSUNG TruDirect™ Drive (In case of external type, USB 2.0 Interface)
- AV PORT : IEEE 1394, USB 2.0 and Composite connection
PC Input Source supported
- Video/Audio
- PC Interface supported : IEEE 1394, USB2.0, Composite or Video Capture Card.
- Devices supported : Camcorder, TV, Set Top Box(STB), VCR, Digital Camera, Webcam
- Photo
- PC Interface supported : USB 2.0
- Devices supported : Digital Camera, Camcorder, Memory stick (Memory device of great capacity)
- Video/Photo file
- Video/Photo File that is created by the user or downloaded from the internet.
Note
TruDirect is a DVD Recording Program based on the Microsoft Windows OS. It can record all types of video files which are played in the PC (e.g. Windows Media Player). (If a video file plays back correctly, then the correct software CODEC is installed in the PC;otherwise install the correct software CODEC.)
Media format supported
- DVD-R, -R DL, -RW, +R, +R DL, +RW and RAM media. (Including 8cm disc)
File format supported
- DVD-Video compatible video
- DVD-Video compatible photo DVD
- DVD-Video compatible multimedia file
- Data file related to the video or photo file
Installing the TruDirect
- Select "Install TruDirect".
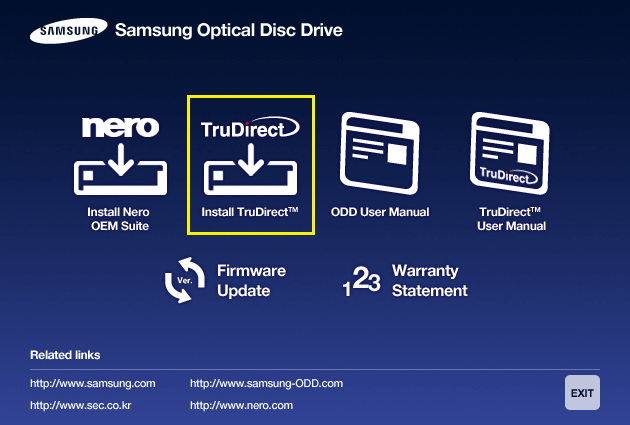
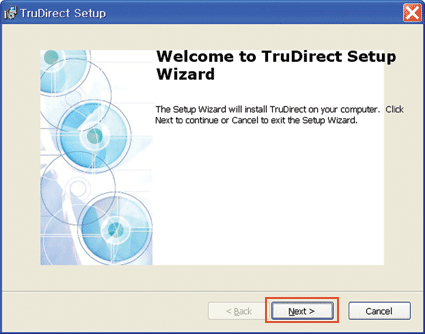
- If the TruDirect installation wizard appears, press the [Next] button.
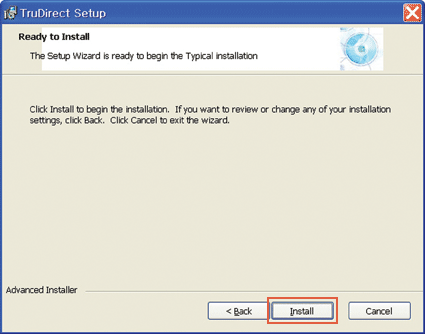
- When ready for installation, press the [Install] button.
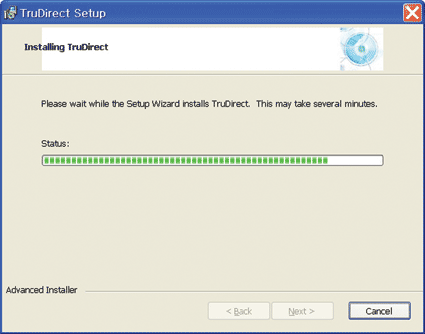
- The installation of TruDirect is proceeding.
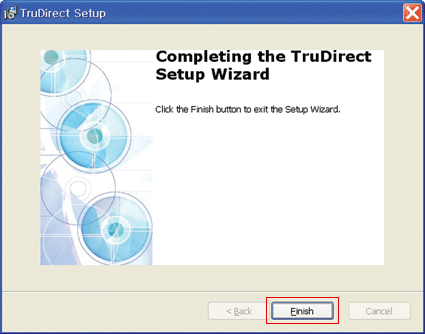
- When the installation of TruDirect is complete, press the [Finish] button.
Note
For installation of the TruDirect application, the installation manager determines the certification of Optical Disc Drive. If it is a certified drive, the installation manager continues the installation of TruDirect. If not, the installation manager indicates an error message and stops the installation.
Starting the TruDirect
Starting the TruDirect
There are three methods to start and use TruDirect.
- Click the TruDirect shortcuts in the background or start menu.
- Select TruDirect in the application list of the OS search popup window.
- Press the TruDirect function button in the front of the drive.
(Only applied to drives with the TruDirect function button)
Manual mode and Express mode
A user can operate TruDirect in Manual mode or Express mode according to the level of intervention that a user wants.
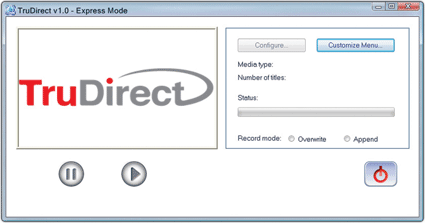
- Express Mode: Creates a DVD quickly by pressing the TruDirect function button (Only applied to drives with the TruDirect function button) or clicking some buttons in the popup screen.
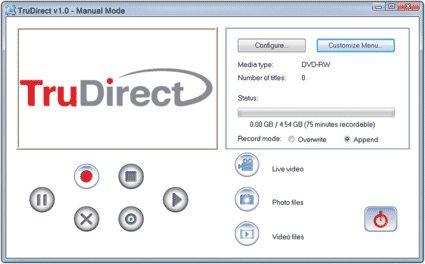
- Manual Mode: It creates a DVD by selecting the usable options directly.
Using the Express mode of TruDirect
Express mode of TruDirect
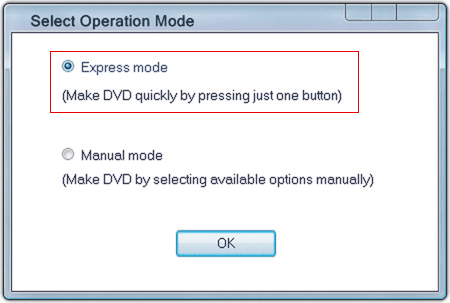
Select Express mode by clicking the TruDirect function button on the front of the drive after connecting a support video device to the PC. You can also select the express mode by clicking the Express mode button in the Select Operation Mode dialog box.
Note
This is applied to only models with the TruDirect function button.
Creating a DVD from a Live Video source (Streaming image- DV camcorder, Web camera, etc.)
- If a live video device is detected, the video preview is displayed automatically in the device selection dialog box.
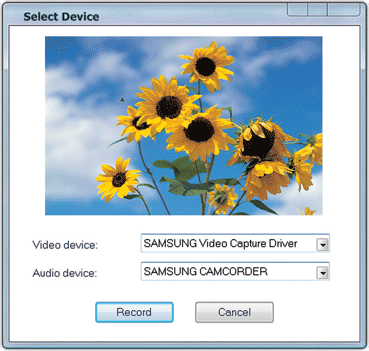
- If you click the recording button, the recording starts and the video is displayed in the main screen.
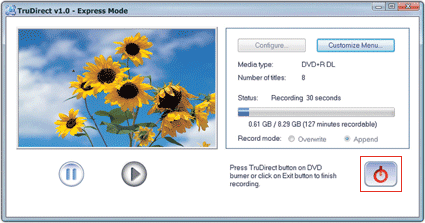
- Whenever you click the Stop recording button, the Enter Title text window is displayed.
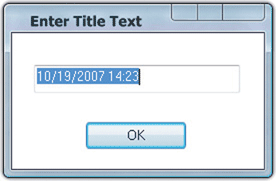
- Stop and complete the recording by clicking the [OK] button after changing the text. After completing the recording, the TruDirect drive ejects the media.
Creating a DVD from a photo file
- If photo files in a portable memory device are detected, photo thumbnail previews are displayed in the Select Photos dialog box.
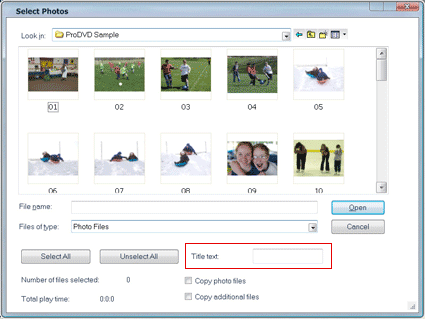
- Select a minimum of 5 photos to record, and input a title.
- Click the open button to start the recording.
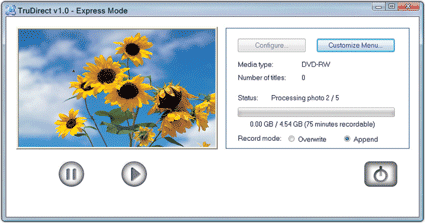
- After the recording is complete, TruDirect drive ejects the media.
Creating a DVD from a video file
- If the detected video file source is from a large storage device such as a hard drive camcorder or a digital camera, the video file list is displayed in the Select Video dialog box.
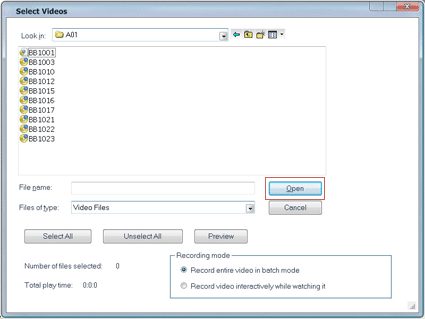
- Select the video files to record.
- Note
If the play time of a selected file is longer than the recordable time, lower the definition(HQ,SP,LP) or insert another disc.
- Note
- If you click the [Open] button, the selected video files are played in the main screen automatically and the recording starts.
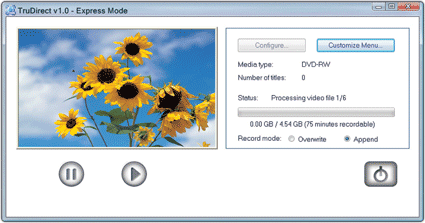
- After the recording is complete, the TruDirect drive will eject the media.
- Note
A DVD is produced in order of the full conversion of a selected video file recording. A disc is ejected automatically after the recording is completed. Please wait for to the completion.
- Note
Using the manual mode of TruDirect
Manual mode of TruDirect
Creating a DVD from a live video (Streaming image - DV camcorder, Web camera, etc.)
- The main screen is displayed when TruDirect starts.
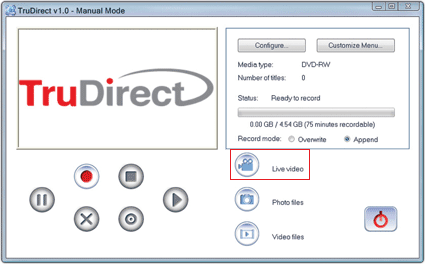
- Connect a video device to a user’s PC.
- Click the live video button on the main screen.
- Check the video and audio device to record from, and click the [OK] button.
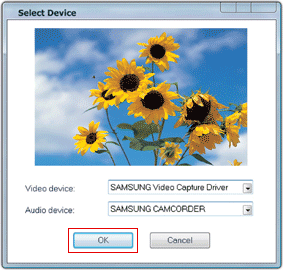
- Click the start recording button to record a DVD.
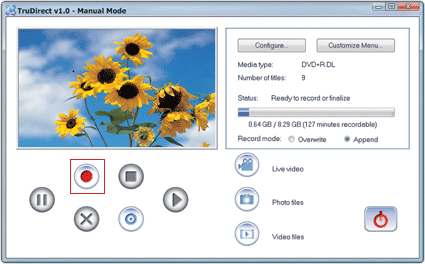
- Whenever you click the recording stop, the title input window is displayed.Input a title and click the [OK] button.
- Click the recording completion button if the recording completion button is usable and the recording completion is ready. After completion of the DVD recording, the DVD is ejected automatically.
- Click the [Finish] button to exit TruDirect.
Creating a DVD from a photo file
- The main screen is displayed if TruDirect starts.
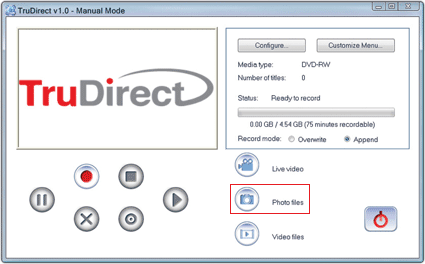
- Connect a photo file source to the user's PC, or select a photo file from the hard drive of the users PC.
- Click Photo Files in the main screen to display the Select Photos dialog box.

- Select a minimum of 5 photos to record and input the title.
- Click the open button to start a recording.
- Click the recording completion button if the recording is completed and the DVD is ready to be ejected.
- Click the [Finish] button to exit TruDirect.
Creating a DVD from the video file
- The main screen is displayed when TruDirect starts.
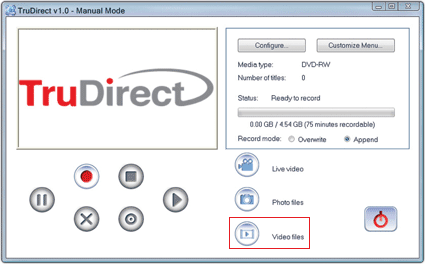
- Connect a video file source to a user's PC to display the selection dialog box, or select a video file from the hard drive of the users PC.

- Select the recording mode; in batch mode or interactively (for viewing) if the video fie is a MPEG-2 file.
- Select the video files to record.
- Click the open button to start the recording. When a video is recorded interactively, a video is previewed in the main window and the DVD recording starts by clicking the start recording button.
- Whenever you click the recording stop button, the title input window is displayed.Input a title and click the [OK] button.
- If the batch mode is selected, it proceeds until the selected video file recording is complete. Please wait until the recording is complete.
- Note
If the play time of a selected file is longer than the available recordable time, lower the definition (HQ,SP,LP) or insert another disc.
- Note
- Click the recording completion button if the recording is completed and a DVD will eject when recording is complete.
- Click the [Finish] button to exit TruDirect.
Easy checks for TruDirect
- TruDirect™ Software does not operate operated in the DVD Writer.
TruDirect™ Software operates by communicating with a Samsung TruDirect™ Optical Disc Drive.Check if a TruDirect™ drive is connected correctly. - Is it possible to record a video file with TruDirect which can not be played by the computer?
It is impossible to record a video file that a computer cannot play. Confirm the normal play using Windows Media Player after Installing the correct codec or decoder and then record with TruDirect™. - It is impossible to record with TruDirect™ even though a video file can be played with a PC normally.
Some CODECs are operated with special software. In this case, it can not be supported by TruDirect™. It is recommended that a certified CODEC only be used. Some uncertified CODEC's will cause the PC to become unstable. - What types of video files are recorded in Interactive Mode and what kind of video files are recorded in Batch Mode.
And, what kinds of video file show the present screen during the 'recording the all videos'?
In TruDirect™, only the standard MPEG-2 video file can be recorded in Interactive Mode. And it records quickly without showing the recorded video in the case of recording in batch mode. All other types of videos can be recorded in batch mode. - How to use the DV camcorder (Tape type) in TruDirect™?
To record pictures from a DV camcorder, the camcorder should be connected to a IEEE 1394 (FireWire) port of the users PC. Start TruDirect™ after connecting the camcorder to the PC. (If there is no IEEE 1394 port in the PC, an internal/external DV capture board is required.)Some Camcorders support a USB connection and IEEE 1394 connection at the same time. - How do you use the USB connection of camcorder, web camera, and digital camera?
To record video/photo files with TruDirect™ from the above devices, connect a device to a USB port of the PC(1.1 or 2.0 : USB 2.0 connection provides the best data transmission rate.). Some devices may need a correct USB driver. In this case, install the provided driver with the device or the newest version of the driver at the homepage of the manufacturer.- Note
If a device is not recognized by the Microsoft Windows OS, it is impossible to use it with TruDirect™. If a device is not recognized in the OS, install the correct device driver.
- Note
- There is no sound in a DVD created with TruDirect™ by connecting an external device.
Check if the video/audio device is selected correctly at the selection window when connecting the device. Otherwise check that the original source of audio is saved correctly. - Photo slide show does not work normally.
There is a case that some software that DVD timer logic is not realized dose not work automatically the photo slide show made by TruDirect™. In this case, press button or click to continue to the next picture. - A 'Write error' occurs when recording with TruDirect™.
Check if a disc is scratched, broken, or dirty. An error can occur if another PC based program is processed when recording a DVD. - A DVD that is made with TruDirect™ can not played in my DVD player.
Check if your DVD player supports the DVD media type(±R, ±RW, ±R DL Layer, RAM ). - A large space remains in the disc, but a small video file cannot be recorded.
The recording to a disc is determined by the playtime not the selected file size. In the case of a DVD-R disc, with HQ definition, it can record about 75 minutes of video, SP can record about 100 minutes of video, and LP can record about 150 minutes of video.